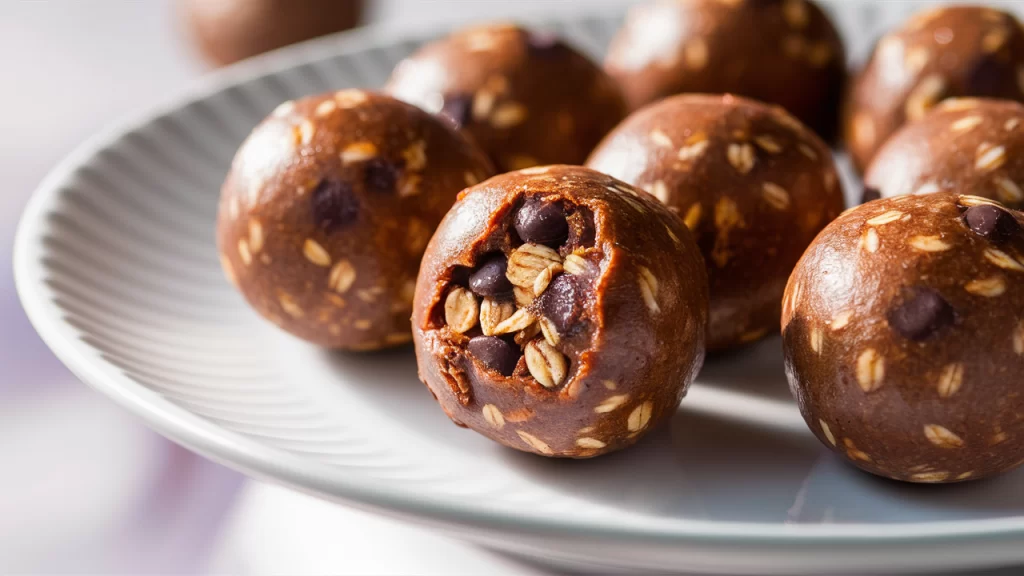
The Ultimate Guide to Making Protein Balls with Just 5 Ingredients
If you’re looking for a quick, delicious, and healthy snack to keep you fueled throughout the day, protein balls are the ultimate solution. These bite-sized treats are packed with protein, energy-boosting ingredients, and just the right amount of sweetness to curb your cravings. Whether you need a post-workout pick-me-up, an afternoon energy boost, or a grab-and-go breakfast option, protein balls have you covered.
The best part? You don’t need a long list of fancy ingredients or hours in the kitchen to make them. With just five simple ingredients, you can whip up a batch of protein balls that are as convenient as they are nutritious. Perfect for busy lifestyles, these recipes are designed to fit seamlessly into your day, saving you time without sacrificing flavor or health benefits.
Ready to transform your snack game? Let’s dive in!
This post may contains affiliate links. If you click on these links and make a purchase, I may receive a small commission at no extra cost to you. I only recommend products and services that I believe will add value to my readers. Your support helps me continue to provide helpful content. Thank you!
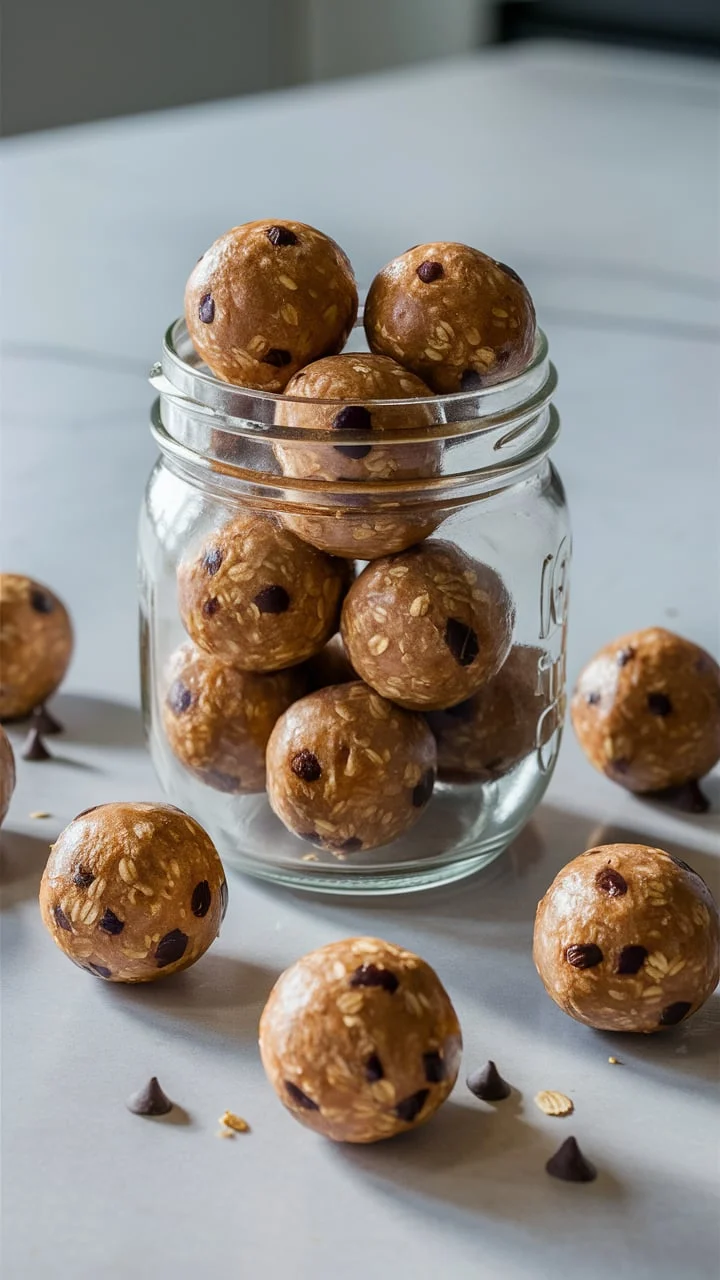
Serving Size and Preparation Time
- Serving Size: This recipe makes approximately 12–15 protein balls, depending on how large you roll them. Perfect for sharing or meal prepping for the week!
- Preparation Time: You’ll need just 10 minutes to mix the ingredients and roll them into shape. Add an optional 20–30 minutes of chilling time in the fridge, and you’re all set. Quick, easy, and ready to fuel your day!
Macros and Nutritional Information
Each protein ball (assuming a serving size of 1 ball, with 12 total balls) contains approximately:
- Calories: 150
- Protein: 8g
- Fat: 9g (healthy fats from nut butter)
- Carbs: 12g (including fiber from oats)
These protein balls offer a balanced combination of protein, healthy fats, and complex carbohydrates. The protein from the powder and nut butter helps with muscle repair and satiety, while the oats provide long-lasting energy. The chocolate chips add a touch of sweetness without compromising the overall nutritional benefits, making these protein balls a well-rounded, wholesome snack.
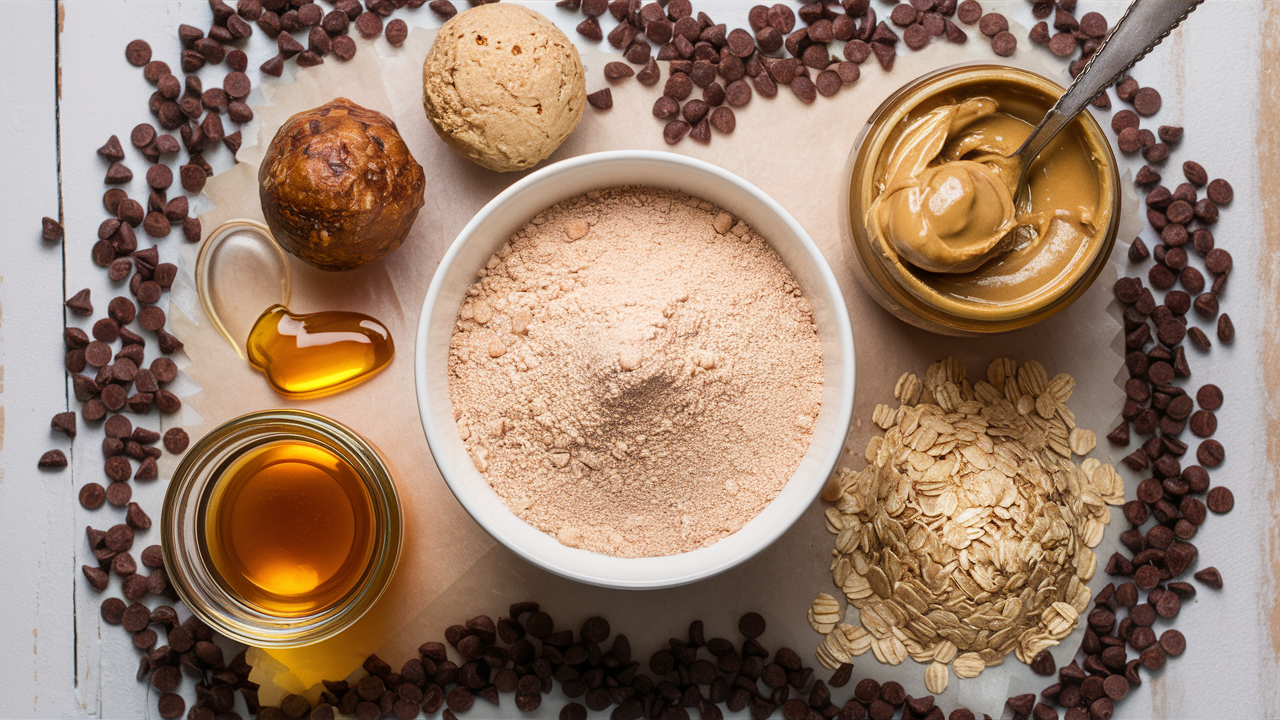
Ingredients
Making protein balls has never been easier, especially when you only need five simple ingredients that you likely already have in your kitchen. Here’s what you’ll need:
- 1 cup of protein powder
- 1/2 cup of nut butter
- 1/4 cup of honey or maple syrup
- 1 cup of rolled oats
- 1/4 cup of chocolate chips
These pantry staples come together to create a snack that’s high in protein, satisfying, and totally customizable. Let’s move on to how you’ll combine these ingredients to create your protein-packed treat!
Step-by-Step Recipe: How to Make Protein Balls
Making protein balls is as easy as mix, roll, and enjoy! Here’s a step-by-step guide to whip up a batch in no time:
Step 1: Gather Your Ingredients
Make sure you have all five ingredients—protein powder, nut butter, honey or maple syrup, rolled oats, and chocolate chips—measured and ready to go.
Step 2: Mix the Dry Ingredients
In a large mixing bowl, combine 1 cup of protein powder and 1 cup of rolled oats. Stir them together to ensure the dry ingredients are evenly distributed.
Step 3: Add the Wet Ingredients
Pour in 1/2 cup of nut butter and 1/4 cup of honey or maple syrup. Using a spatula or a sturdy spoon, mix everything together until a thick dough starts to form. If the mixture feels too dry, add a tablespoon of water or milk (non-dairy works too) to help bind it.
Step 4: Stir in the Chocolate Chips
Fold in 1/4 cup of chocolate chips for a touch of sweetness and texture. Make sure they’re evenly distributed throughout the dough.
Step 5: Roll into Balls
Scoop out about a tablespoon of the mixture and roll it between your palms to form a bite-sized ball. Repeat until you’ve used up all the dough. This recipe should make about 12–15 protein balls, depending on their size.
Step 6: Chill and Enjoy
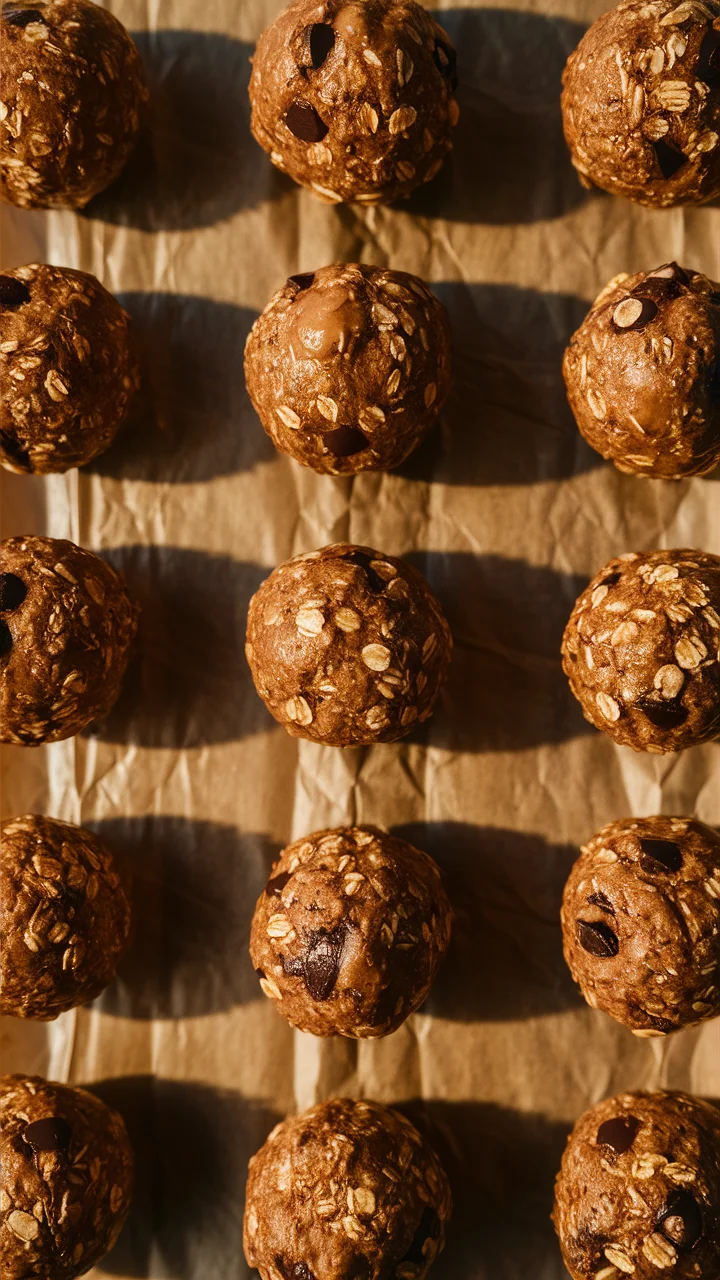
Place the protein balls on a baking sheet or plate lined with parchment paper and pop them into the fridge for about 20–30 minutes to firm up. Once chilled, they’re ready to enjoy!
Bonus Tip: Storage
Store your protein balls in an airtight container in the fridge for up to a week or in the freezer for up to a month. They’re perfect for meal prep and always ready when you need a quick snack!
That’s it—simple, fast, and oh-so-delicious!
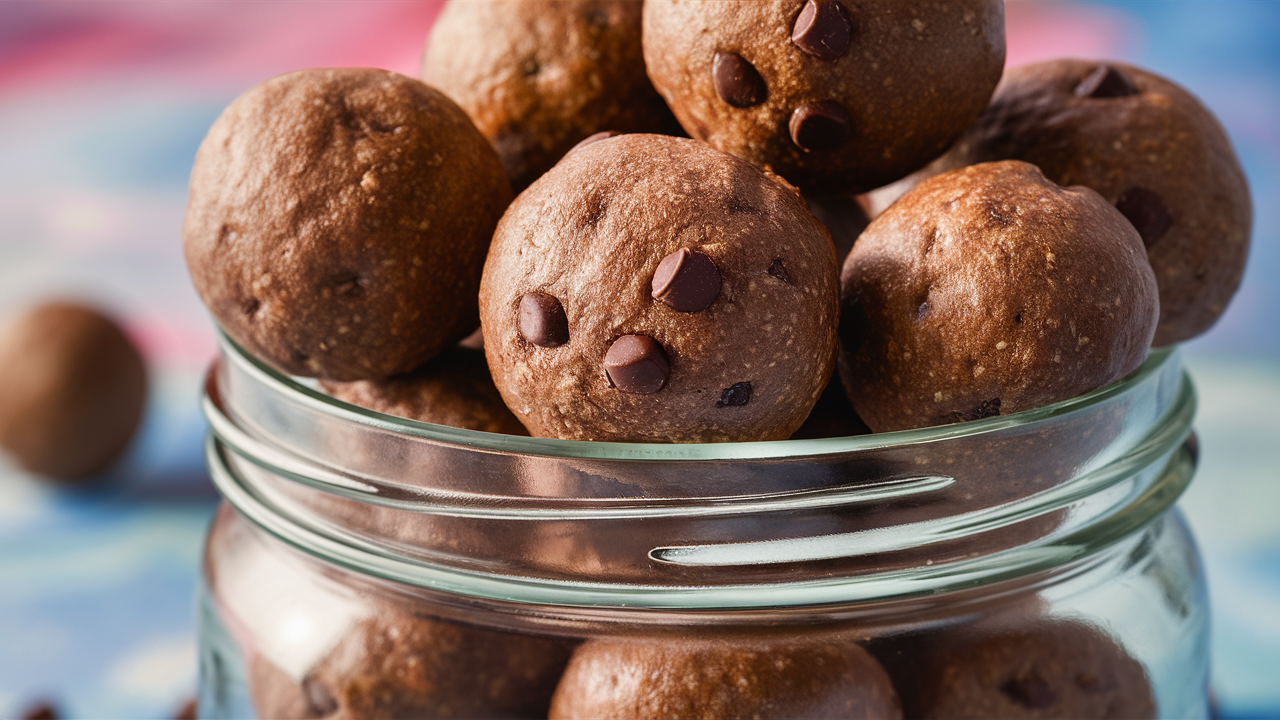
Storage Tips
Proper storage is key to keeping your protein balls fresh and delicious. Follow these tips to ensure they’re ready to grab whenever you need a quick and healthy snack:
Best Practices for Storing Protein Balls
- Refrigerator Storage:
Place your protein balls in an airtight container and store them in the fridge. This helps maintain their freshness and keeps them firm. A simple Tupperware or glass container with a lid works perfectly. - Layering Tip:
If you’re stacking the protein balls in the container, separate the layers with parchment paper to prevent them from sticking together.
Shelf Life
- In the Fridge: Protein balls will stay fresh for up to 7 days in the refrigerator.
- At Room Temperature: If you’re taking them on the go, they can last for about 1–2 days at room temperature, depending on the climate. Warmer temperatures may cause the chocolate chips or nut butter to soften.
Freezing Options
If you want to make a big batch to last longer, protein balls are freezer-friendly!
- Arrange the protein balls on a baking sheet or plate lined with parchment paper. Freeze them for about 1–2 hours until firm.
- Transfer the frozen protein balls to a freezer-safe bag or container. Label with the date for easy tracking.
- When you’re ready to enjoy, let them thaw at room temperature for 10–15 minutes or in the fridge overnight.
Shelf Life in the Freezer
- Protein balls can be stored in the freezer for up to 3 months. This makes them a fantastic option for meal prep and stocking up on healthy snacks.
Whether you’re refrigerating or freezing, these tips will help keep your protein balls tasting as fresh as the day you made them!
Pro Tips for Perfect Protein Balls
Want to take your protein balls to the next level? Here are some expert tips and creative ideas to enhance the flavor, texture, and overall snack experience:
Enhance the Flavor
- Boost the Sweetness Naturally: Add a sprinkle of cinnamon, a dash of vanilla extract, or a pinch of sea salt to deepen the flavor.
- Experiment with Nut Butters: Try almond, cashew, or even sunflower seed butter for a different twist. Each brings a unique flavor profile.
- Use Flavored Protein Powder: Chocolate, vanilla, or even peanut butter-flavored protein powder can add a delicious boost.
- Add Dried Fruit: Mix in chopped dried cranberries, raisins, or apricots for a chewy, fruity kick.
Improve the Texture
- Crunchy Add-Ins: Add chopped nuts, seeds (like chia or flaxseed), or shredded coconut for extra texture and crunch.
- Smooth Consistency: If the mixture is too dry, add a teaspoon of milk (dairy or non-dairy) at a time until the dough holds together.
- Firm but Chewy: Chill the dough before rolling to make it easier to handle and achieve a firmer texture.
Perfect Portion Sizes
- Standard Bites: Use a tablespoon or small cookie scoop for evenly sized, bite-sized protein balls. This portion is perfect for a quick snack.
- Bigger Bites: If you want a heartier option, roll them slightly larger—2 tablespoons per ball works great for a post-workout snack.
Customizations to Try
- Go Gluten-Free: Use certified gluten-free oats if needed.
- Make Them Vegan: Opt for plant-based protein powder and use maple syrup instead of honey.
- Switch the Chocolate Chips: Dark chocolate, white chocolate, or even cacao nibs can be fun alternatives.
- Add Superfoods: Toss in a teaspoon of matcha powder, spirulina, or collagen powder for an extra health boost.
With these tips and tweaks, you can create protein balls that cater to your taste, dietary needs, and snack-time cravings. The possibilities are endless—so get creative and make them your own!
There you have it—your new go-to snack for any time of day! These protein balls are not only delicious and easy to make but also packed with nutrients to keep you energized and satisfied. Whether you’re looking for a post-workout bite or a quick snack to get you through a busy afternoon, this simple 5-ingredient recipe is sure to become a favorite.
For a complete snack experience, pair these protein balls with a refreshing smoothie, a handful of fresh fruit, or a warm cup of herbal tea. Enjoy the balance of flavors and nutrients that will keep you feeling your best all day long!
Give this recipe a try, and don’t forget to share your own variations and creations with us. Happy snacking!
